Archive 19/08/2024

How to Identify Asbestos in Your Home: Tips for Homeowners

construction

As a homeowner, ensuring the safety and comfort of your living space is a top priority. One hidden danger that might lurk in older homes is asbestos. This naturally occurring mineral was once popular for its durability and heat resistance, but it poses serious health risks when disturbed. If you’re unsure whether your home harbors this hazardous material, don’t panic. You can proactively identify potential asbestos sources before they become an issue. But if you have already confirmed that your home contains asbestos, consider getting an asbestos removal. Now, let’s explore how to spot these dangers confidently and protect your family from harm.

Check the Age of Your Home

One of the first steps in identifying asbestos is to check the age of your home. Properties built before 1980 are more likely to contain asbestos materials. During this period, it was widely used in construction for insulation, roofing, and flooring. If your house dates back several decades, it’s essential to be cautious. Look into renovations or repairs that may have been done over the years as well. Even if you think new materials were used, older components might still exist behind walls or under floors.

Observe Material Condition

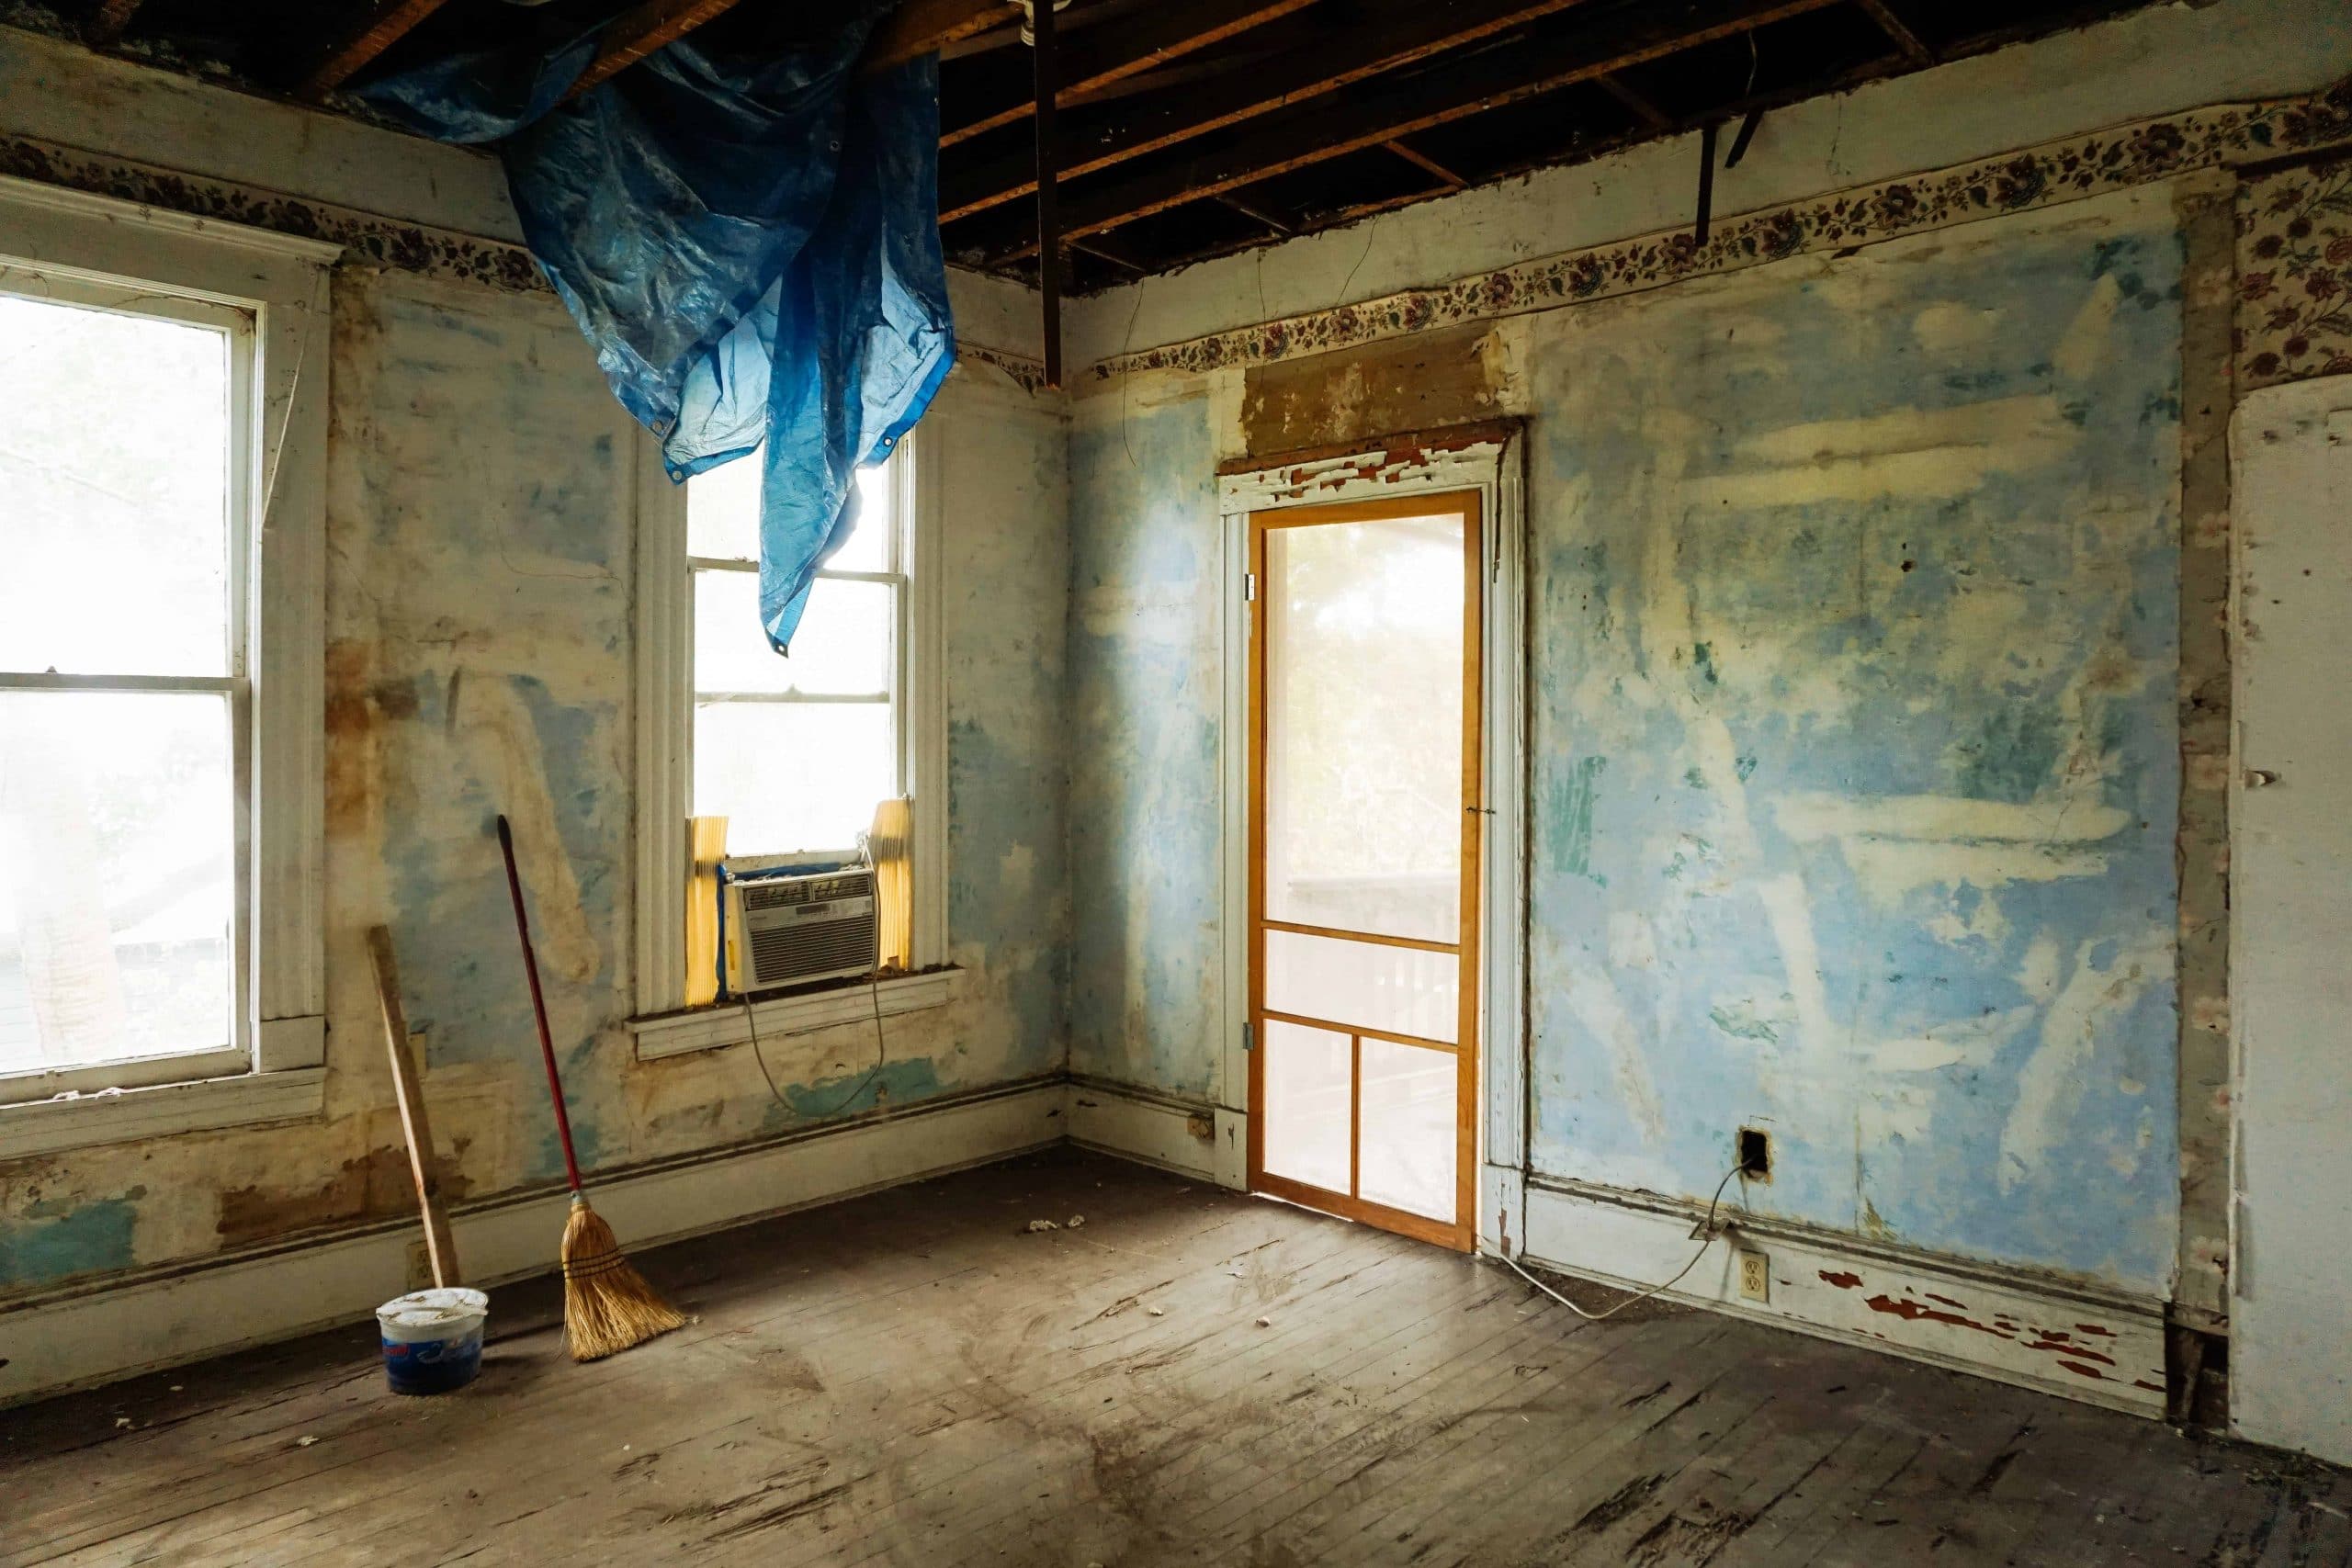
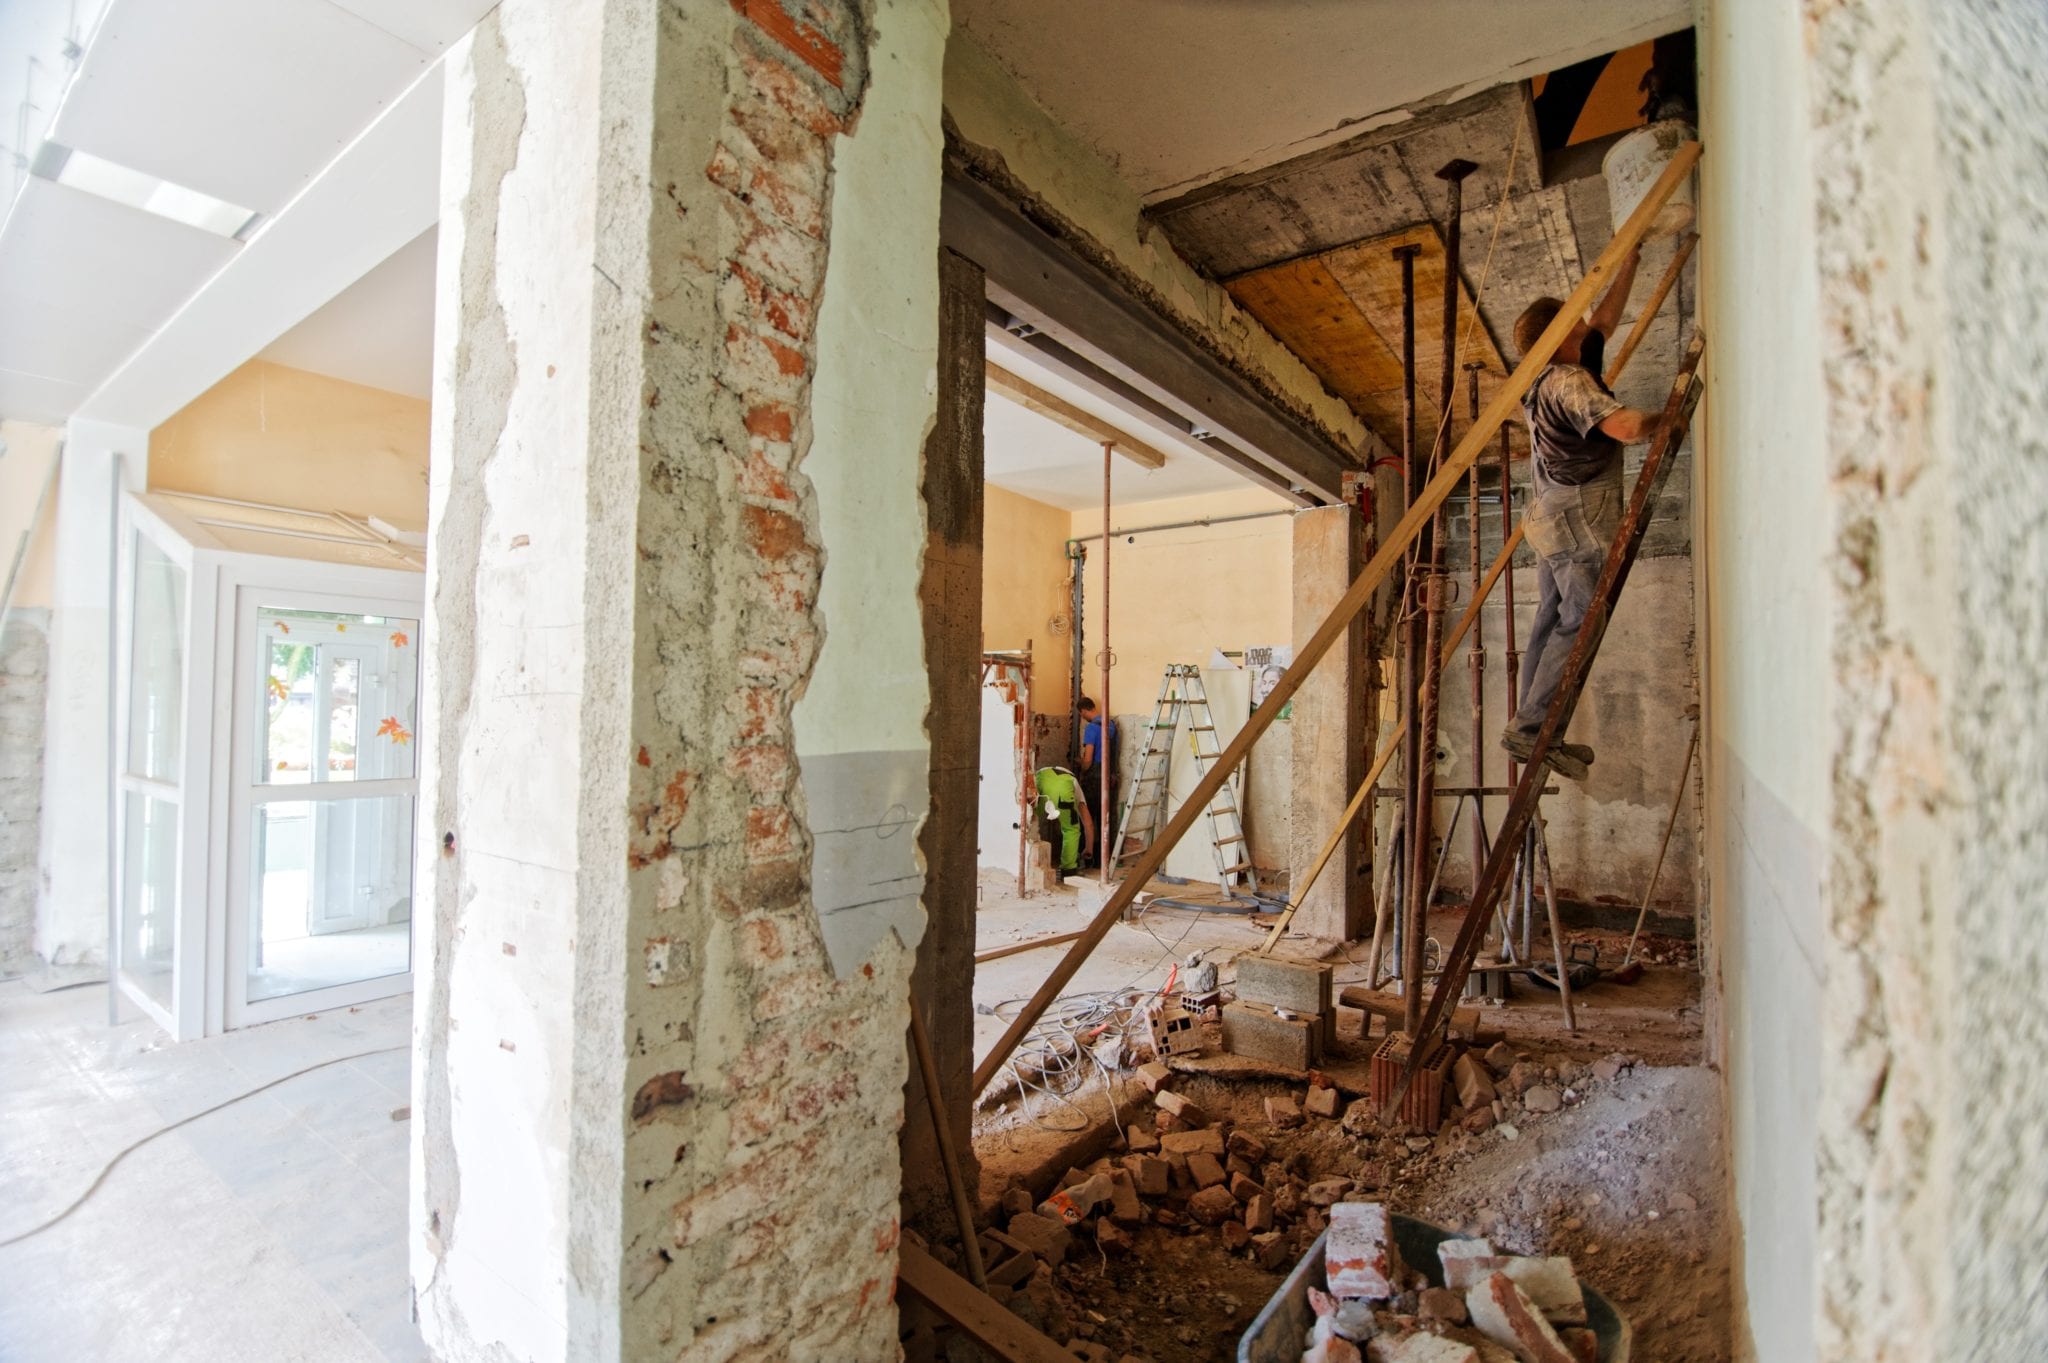
The condition of your home’s materials is critical when checking for asbestos. Look closely at insulation, tiles, and textured ceilings. If these materials are damaged or crumbling, it raises a red flag. Pay attention to areas with water damage. Leaks can compromise the integrity of building materials that might contain asbestos. Discoloration or sagging surfaces often indicate issues that need investigation. Keep an eye out for friable materials that can be easily crumbled by hand. This includes some types of insulation and plasterwork.

Homeowners

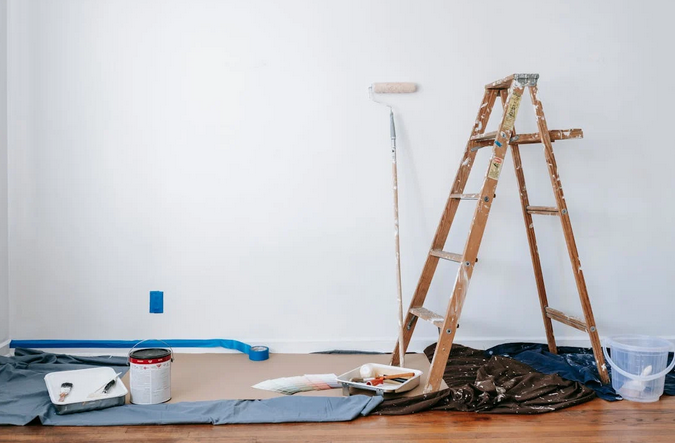
Conduct a Visual Inspection

A visual inspection is an essential step in identifying asbestos. Start by examining areas more likely to contain it, such as basements, attics, and around heating systems. Look closely at insulation materials, particularly those with a fibrous texture. Asbestos may appear gray or white but can also be found in various colors depending on the type of installation. Check for damaged materials like ceiling tiles or floor coverings. Crumbling edges and discoloration can signal potential asbestos presence. Pay attention to older homes built before the 1980s.

Take Samples Cautiously

When it comes to handling potential asbestos, caution is key. If you suspect that materials in your home contain asbestos, taking samples should be done with care. Use protective gear like gloves and a mask to minimize exposure. It’s vital to prevent fibers from becoming airborne during the sampling process. Choose small sections of material for testing—think about floor tiles or ceiling textures where damage might have occurred. Seal each sample in a plastic bag, ensuring it’s airtight before moving it.  Always label your samples clearly to avoid confusion later on.

Identifying asbestos in your home is crucial for ensuring your and your family’s safety. Understanding the age of your property can provide valuable clues, as materials containing asbestos were commonly used prior to the late 1970s. Pay close attention to the condition of various materials; signs like discoloration, crumbling edges, or peeling paint are red flags. If you’re ever in doubt about any findings during your assessments or inspections, it’s wise to consult professionals who specialize in hazardous material testing and removal. Your health matters most—taking proactive steps will lead you toward a safer living environment.…

DIY Home Improvement Projects: Key Factors to Keep in Mind Before Getting Started

renovation

Are you ready to take on some DIY home improvement projects but not sure where to start? Before you break out the paintbrushes and power tools, there are a few key factors to keep in mind that will ensure your project is a success. From setting a realistic budget to choosing the right materials, this blog post will guide you through everything you need to know before getting started on your next home improvement adventure. So grab your tool belt, and let’s get started.

Budgeting

First and foremost, set a realistic budget for your DIY project. Consider the cost of materials, tools, permits, and any unexpected expenses that might arise. It’s easy to underestimate how much a project will cost, so it’s wise to add a buffer to your budget. This way, you won’t be caught off guard if prices fluctuate or if you need to buy additional supplies.

Time Management

Assess the time required to complete your project. Many DIY enthusiasts underestimate the time needed, leading to unfinished projects and frustration. Be honest about your availability and set a realistic timeline. If you’re tackling a large project, break it down into smaller tasks and set milestones to keep yourself on track.

Skill Assessment

Be realistic about your skills and expertise. While DIY projects can be a great way to learn new skills, certain tasks might be beyond your current abilities and could require professional help. Installing wires, fixing plumbing issues, and replacing base cabinet bottoms like a pro are areas where it might be safer and more efficient to hire an expert. In short, you need to know when to DIY and when to call in the experts.

Safety

Safety should always be your top priority. Ensure you have the necessary safety gear, such as gloves, goggles, and masks. Familiarize yourself with the safe use of tools and equipment, and never rush through a task that requires precision. If you’re working with hazardous materials, make sure you follow proper handling and disposal procedures.

Material Selection

materials

Selecting the right materials is crucial for the success and longevity of your project. While it might be tempting to go for cheaper options, investing in quality materials will save you time and money in the long run. Research the best materials for your specific project and consult with professionals if needed. Remember, quality materials will enhance the durability and appearance of your work.

Permits and Regulations

Before starting any significant home project, check if you need permits or if there are any local regulations you need to follow. Failing to obtain the necessary permits can result in fines or having to redo the work. Visit your local government’s website or contact the building department to find out what’s required for your project.

Environmental Impact

Consider the environmental impact of your project. Opt for sustainable materials and practices wherever possible. Reuse and recycle materials and choose energy-efficient solutions. Not only will this be better for the planet, but it can also make your home more energy-efficient and reduce long-term costs.

Planning and Design

Spend time planning and designing your project before you start. Visualize the result and ensure it aligns with your home’s overall aesthetic. Use design software or draw sketches to get a better understanding of how the final project will look. Proper planning will help you avoid mistakes and ensure a smoother process.

Starting a DIY home project can be a fulfilling endeavor, but it’s important to approach it with careful planning and consideration. By budgeting appropriately, managing your time, assessing your skills, prioritizing safety, choosing quality materials, understanding permits and regulations, being environmentally conscious, and planning thoroughly, you’ll set yourself up for success. Now, roll up your sleeves and get ready to transform your space.…

Shed Maintenance Tips: Keeping Your Outdoor Structure in Top Condition

shed

In this era, it’s such a blessing to have an outdoor space. If you’re lucky to be one of those people, you should make the most out of it. The best way to do this is by having a shed in your backyard. A shed is a reliable, versatile structure that can be used for various purposes, such as storing garden tools and equipment, as a workshop, or even as an outdoor office space. However, to ensure that your shed remains functional and in top condition, it’s essential to regularly maintain it.

So, are you wondering what it takes to keep your shed looking great and functional for many years to come? Say no more. Here are some useful tips on how to maintain your shed.

Know the Signs of Damage and How to Fix Them

As a shed owner, it’s crucial to regularly inspect your outdoor structure for any signs of damage. Look out for cracks in the walls or foundation, warped or rotting wood, loose shingles on the roof, and any water stains inside the shed. These could indicate issues that need immediate attention.

If you notice any of these warning signs, don’t delay in addressing them. Small repairs now can prevent more extensive damage later on. Replace damaged wood panels, fix leaks in the roof, and seal any gaps where pests could enter. But to make your life easier, hiring a local builder from Sheds Bundaberg can really help. In the end, keeping up with maintenance tasks promptly will help prolong your shed’s lifespan and save you time and money in the long run.

Ensure Proper Ventilation

Without adequate airflow, moisture can easily build up inside the structure, leading to mold growth and wood rot. To ensure proper ventilation, consider installing vents or windows to allow air to circulate freely. A well-ventilated shed helps prevent heat buildup during hot summer months, which could potentially damage items stored inside. Additionally, good airflow can help reduce humidity levels in the shed during damp weather conditions.

Regularly check that vents are not blocked by debris or vegetation. Clean them out as needed to maintain optimal airflow throughout the year. In addition to vents, strategically placed windows can also improve ventilation and natural light within the shed.

vent

Apply a Waterproof Sealant

Do you want to make sure your shed can stand against the harsh weather? Well, you’d better slap some waterproof sealant on it. The best sealant acts as a barrier against moisture, preventing water damage and rot. Before applying the sealant, make sure to clean the surface of your shed thoroughly to ensure proper adhesion. Remove any dirt, debris, or old flaking sealant using a brush or pressure washer.

Choose a high-quality waterproof sealant that is suitable for the material of your shed – whether it’s wood, metal, or vinyl. A pro tip: apply the sealant evenly using a paintbrush or roller, making sure to cover all surfaces exposed to rain and snow.

Take Proactive Pest Control Measures

Pests can wreak havoc on your shed if left unchecked. To prevent infestations, consider using pest-resistant materials when building or repairing your outdoor structure. It’s also a good idea to seal any gaps or cracks where pests could enter and make sure to keep the area around the shed clear of debris that could attract rodents or insects.

Moreover, if you notice any indicators of an infestation, take swift, proper action to address the issue before it escalates. Consider setting up traps or using natural repellents to deter unwanted critters from making themselves at home in your shed.…

Blending Modern and Traditional Designs in Your Kitchen

Kitchen Designs

Painted cabinets offer a versatile and stylish option for kitchen design, seamlessly integrating into both modern and traditional aesthetics. Whether you prefer sleek, contemporary finishes or timeless, classic looks, paint cabinets without removal can be customized to suit your preferred style. In this guide, we’ll explore how to incorporate painted cabinets into both modern and traditional kitchen designs, achieving a harmonious balance that elevates the overall aesthetic of your space.

Modern Kitchen Designs

In modern kitchen designs, painted cabinets can contribute to a clean, minimalist aesthetic characterized by sleek lines, bold contrasts, and understated elegance. Here’s how to integrate painted cabinets into modern kitchen designs:

  • Monochromatic Palette: Opt for painted cabinets in neutral tones such as white, gray, or black to create a cohesive and contemporary look. These timeless hues complement modern design elements and provide a versatile backdrop for bold accents and accessories.
  • High-Gloss Finishes: Consider incorporating high-gloss finishes for painted cabinets to enhance the modern appeal of your kitchen. Glossy surfaces reflect light, creating a sense of openness and airiness while adding a touch of sophistication to the overall design.
  • Streamlined Hardware: Choose sleek, minimalist hardware with clean lines and geometric shapes to complement the modern aesthetic of painted cabinets. Integrated handles or touch-to-open mechanisms can further streamline the look, eliminating visual clutter and enhancing the sleekness of the design.
  • Contrasting Accents: Introduce pops of color or contrasting materials to add visual interest and depth to your modern kitchen design. Consider incorporating vibrant accents through accessories, backsplash tiles, or countertop materials to create focal points and break up the monotony of painted cabinets.

Kitchen Designs

Traditional Kitchen Designs

In traditional kitchen designs, painted cabinets can evoke a sense of warmth, charm, and timeless elegance, creating a welcoming and inviting atmosphere. Here’s how to incorporate painted cabinets into traditional kitchen designs:

  • Soft, Subtle Tones: Opt for painted cabinets in soft, muted tones such as cream, taupe, or sage green to evoke a sense of classic elegance and sophistication. These subtle hues complement traditional design elements and create a warm and inviting ambiance in the kitchen.
  • Distressed Finishes: Consider incorporating distressed or antiqued finishes for painted cabinets to add character and depth to your traditional kitchen design. Distressed cabinets create a sense of history and authenticity, evoking the charm of vintage craftsmanship.
  • Ornate Hardware: Choose ornate hardware with intricate detailing, such as brass or bronze knobs and handles, to enhance the traditional appeal of painted cabinets. Vintage-inspired hardware adds a touch of elegance and nostalgia, complementing the timeless aesthetic of traditional design.
  • Decorative Molding and Trim: Incorporate decorative molding, trim, and paneling details to embellish painted cabinets and enhance their traditional charm. Crown molding, beadboard inserts, and raised panel doors add architectural interest and texture, lending a sense of craftsmanship and refinement to the overall design.
  • Classic Accents: Enhance the traditional look of painted cabinets with classic accents such as marble countertops, farmhouse sinks, and antique-inspired lighting fixtures. These timeless elements complement the elegance of painted cabinets and create a cohesive and cohesive design scheme.

Kitchen Designs

Conclusion

Whether you prefer the clean lines of modern design or the timeless elegance of traditional style, painted cabinets offer endless possibilities for enhancing the beauty and functionality of your kitchen. With careful consideration of color, finish, hardware, and accents, you can seamlessly integrate painted cabinets into both modern and traditional kitchen designs, transforming your space into a stylish and inviting culinary haven.…